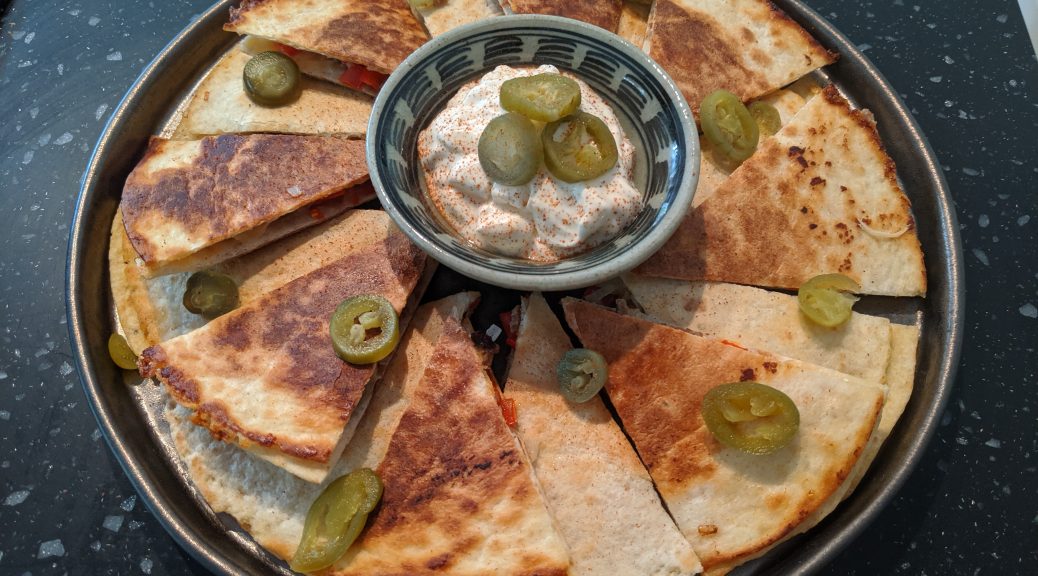
Quesadillas with beef burger and peppers.
Quesadillas are a ludicrously simple thing to make, and really versatile. The only essential ingredients are cheese and tortilla wraps. They can be made as a snack or a quick lunch and can be filled with whatever takes your fancy. You can even cut them into small wedges to create a delicious finger food – perfect for parties or to watch the rugby.
I came up with this recipe as a way to use up an unwanted burger that my three year old had turned his nose up at. Once it was chopped up, mixed with melted cheese and wrapped in a toasted tortilla, he couldn’t get enough. It is also a great way to hide a few veggies from more plant-phobic children!
TIPS
- All quantities besides the wraps are simply a guideline. If you have a little more or less of something it will be fine.
- The burger meat can be omitted if you want to make the recipe vegetarian, or replaced with cooked sausage meat, bits of ham, chorizo, or bacon.
- Try adding other vegetables – if you have sweetcorn, cooked beans or peas to use up, all work brilliantly.
- Spice everything up by adding some finely diced fresh chilli.
- I cooked mine in a panini grill, but if you do not have one, a large frying pan can be used. Place the quesadilla into a hot dry pan and cook for 2 mins on each side, or until golden brown.
Quesadillas with beef burgers and pepper
(recipe creates 4 quesadillas).
Ingredients
100g cooked beef burgers (1 or 2 burgers depending on their size)
8 flour tortillas
160g cheddar, grated
1 red pepper, diced
1 banana shallot, finely diced
Salt and pepper to season
Crème fraiche or sour cream and pickled jalapenos to serve (optional).
Method
- Heat the panini grill to high – settings vary from machine to machine, but a couple of notches from its highest setting should be about right.
- Roughly chop up the beef burgers and season with salt and pepper to taste.
- Place a tortilla on a board. Sprinkle about 20g of cheese evenly over the wrap. Next, add a quarter of the chopped burger, diced pepper and shallot, distributing them equally. Finally sprinkle on more cheese and place another tortilla on top.
- Repeat step 3 until you have created 4 quesadillas.
- Place the quesadillas into the panini grill, one or two at a time depending on the size of your grill and cook for 3-3½ minutes, or until golden brown and crisp. Keep the first batch(s) warm until all are cooked.
- Serve with pickled jalapenos and crème fraiche, salsa, chilli sauce or any other condiment that takes your fancy!
Leftovers?
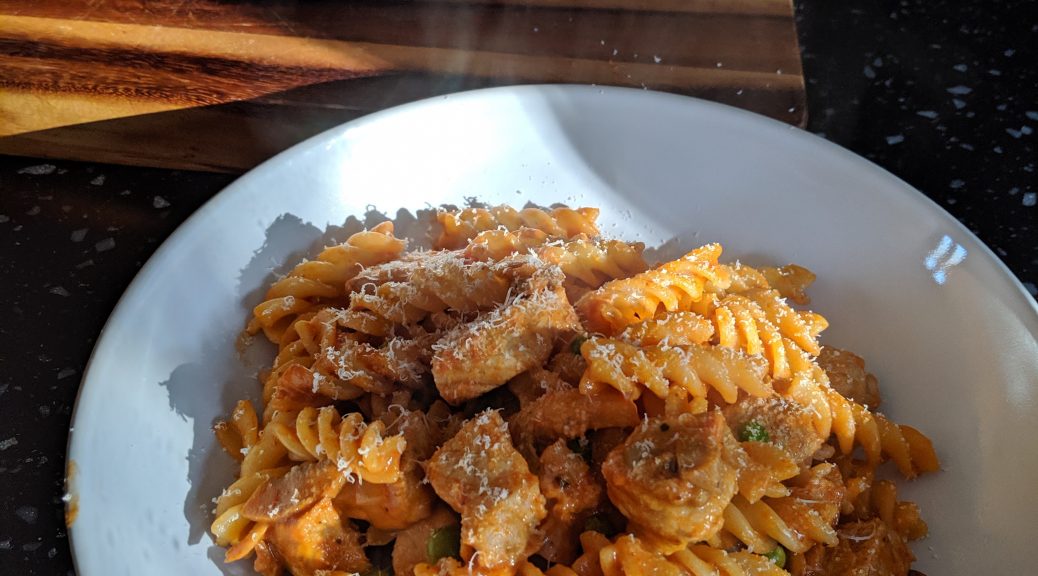
If you have crème fraiche leftover from this recipe, why not try making fusilli with pork, peas, leeks and mushrooms? Follow the link for the recipe.